Downloading the Installation Package
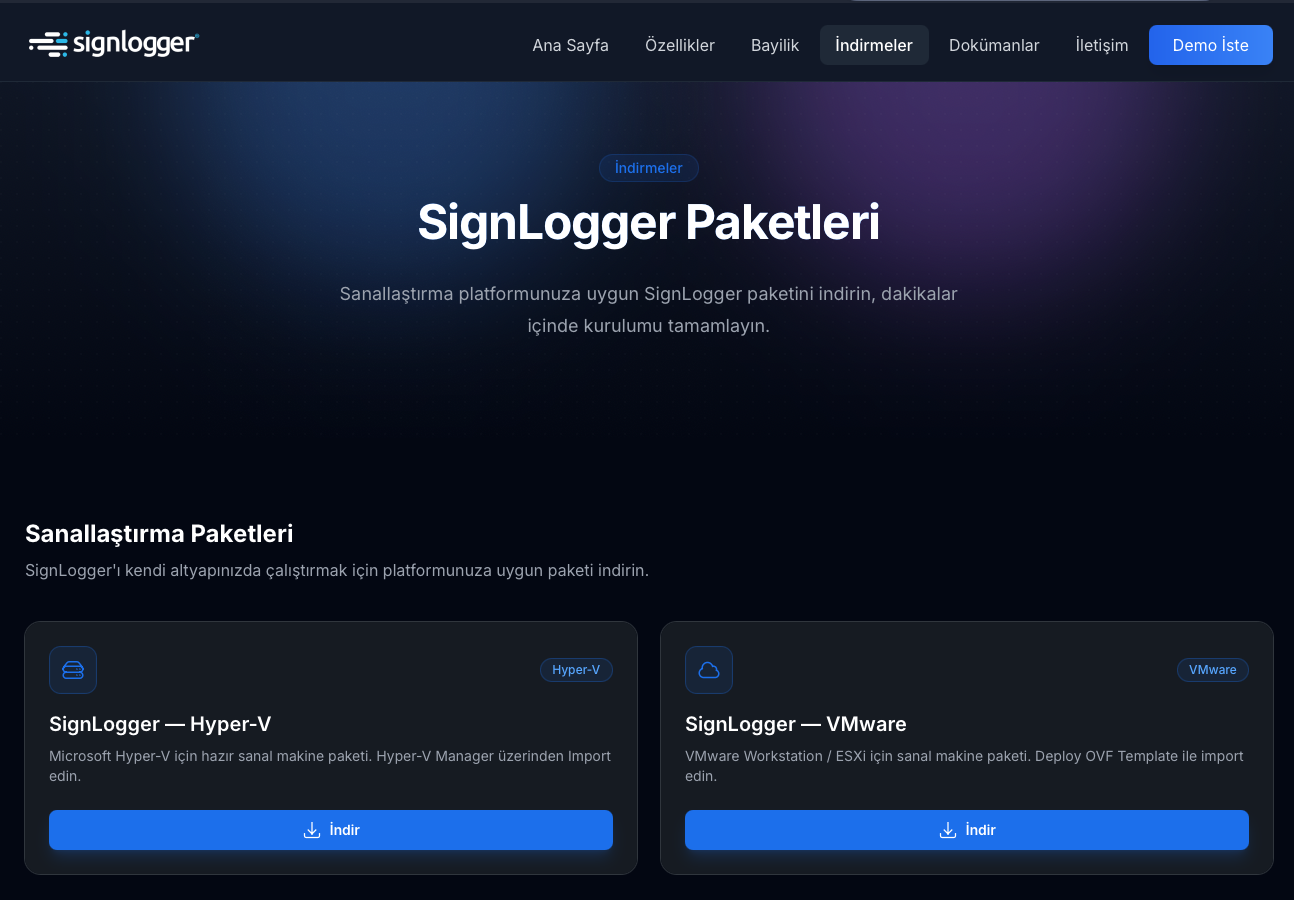
First, download the SignLogger Hyper-V package:
- Go to the official SignLogger website
- Open the Downloads section
- Download the Hyper-V edition
The package contains all disk and configuration files required to import the virtual machine.
Importing into Hyper-V
- Open Hyper-V Manager
- Right-click the server name
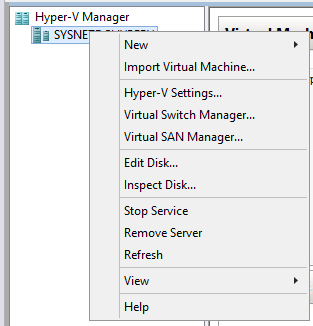
- Select Import Virtual Machine
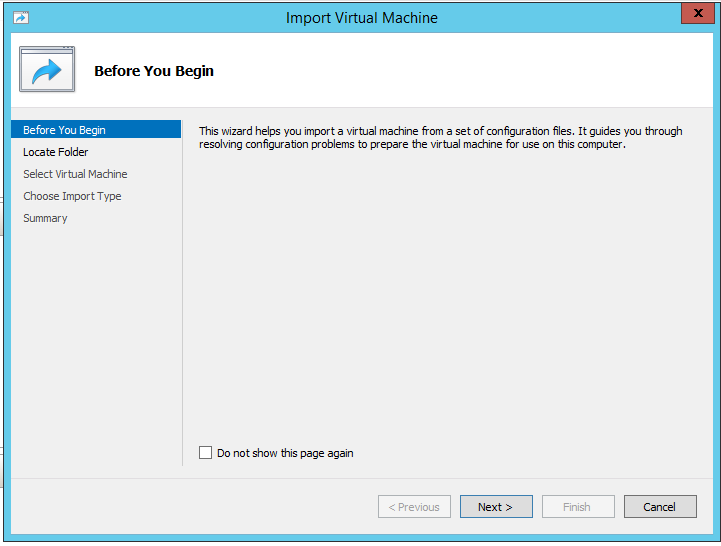
- Continue with Next
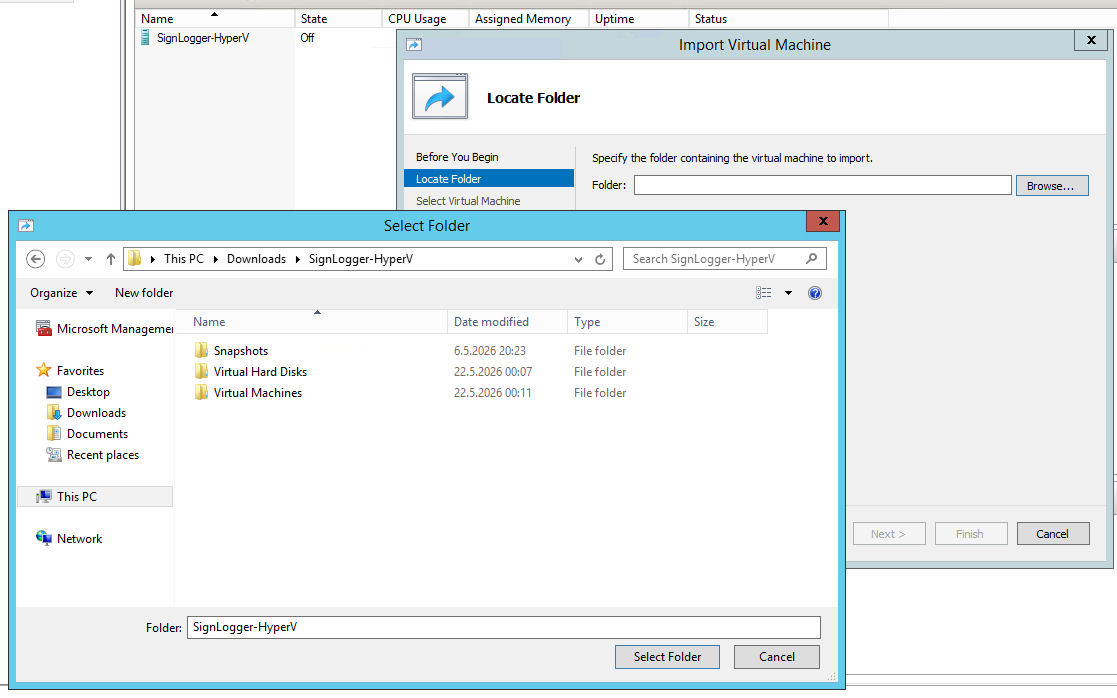
- Click Browse and select the folder you downloaded
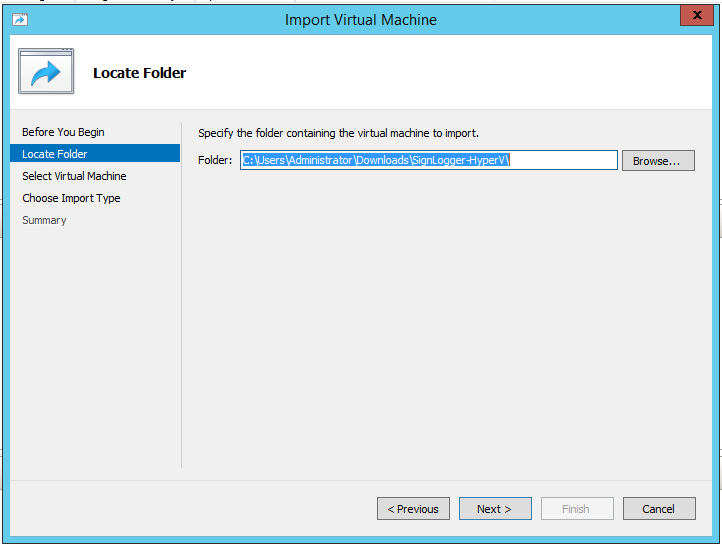
- The wizard detects the configuration automatically
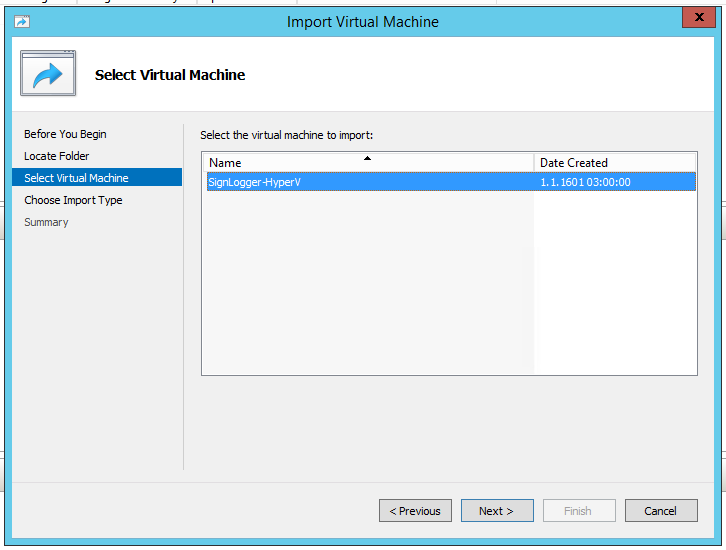
- Select the virtual machine and continue with Next
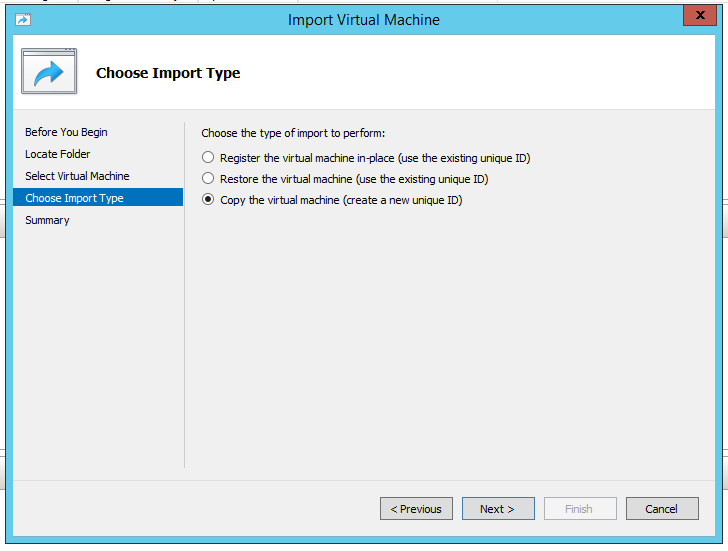
Choosing the Import Type
Choosing the right import type matters:
- ✅ Select Copy the virtual machine (create a new unique ID)
This option prevents conflicts by creating a new virtual machine ID.
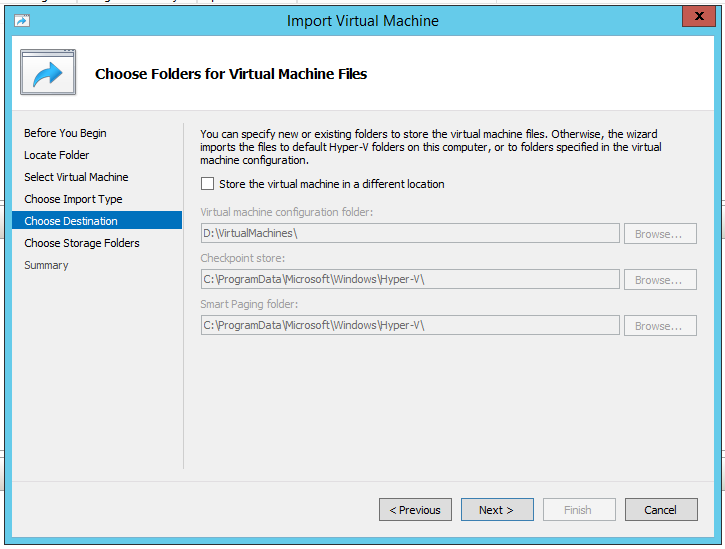
File and Disk Locations
You can keep the defaults or choose custom locations:
- Use Store the virtual machine in a different location to pick another folder
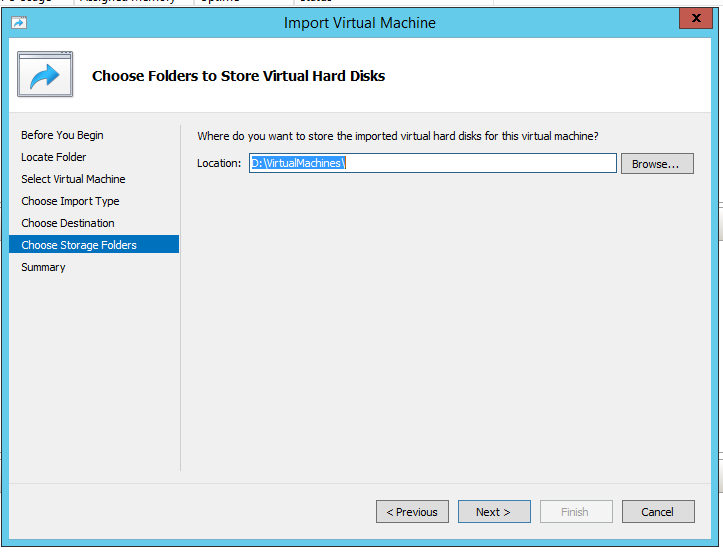
- Use Store virtual hard disk to change the disk location
This step is particularly important for storage management in larger environments.
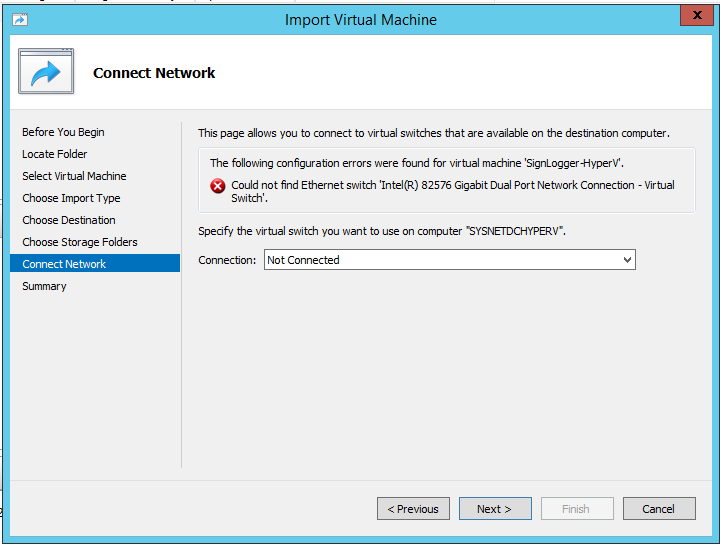
Network Configuration
To connect the virtual machine to your network:
- Select the appropriate network under Connection
Choosing the correct network is required for SignLogger to communicate with your systems.
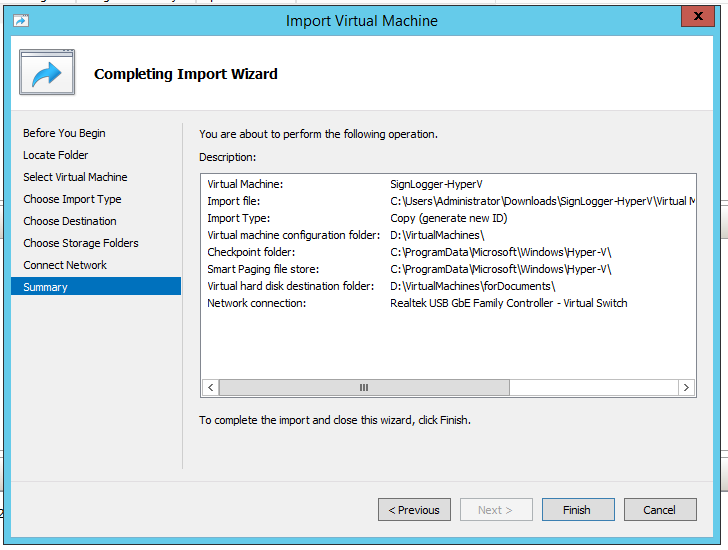
Completing the Import
In the final step:
- Review the Summary screen
- Click Finish to start the import
When the import completes, the virtual machine is ready to use.
IP Configuration (DHCP and Static IP)
Configure networking after installation:
- If DHCP is available, the system obtains an IP automatically
- If not, assign a static IP manually
Manual IP Configuration
To assign a static IP:
- Right-click the virtual machine and select Connect
- Sign in with:
Username: adminPassword: Admin1234! - Enter the commands:
enable
configure terminal
set network ip- Choose option 1 for a static IP
- Enter the address in CIDR format, for example:
192.168.1.100/24 - Set the DNS server:
set network dnsThe system is now active on your network.
✅ Result
After completing these steps, the SignLogger virtual machine is successfully installed on Hyper-V and ready to use.
Continue with initial setup: SignLogger License Activation and Firewall Device Setup Guide. You can find all guides on the Documentation page.